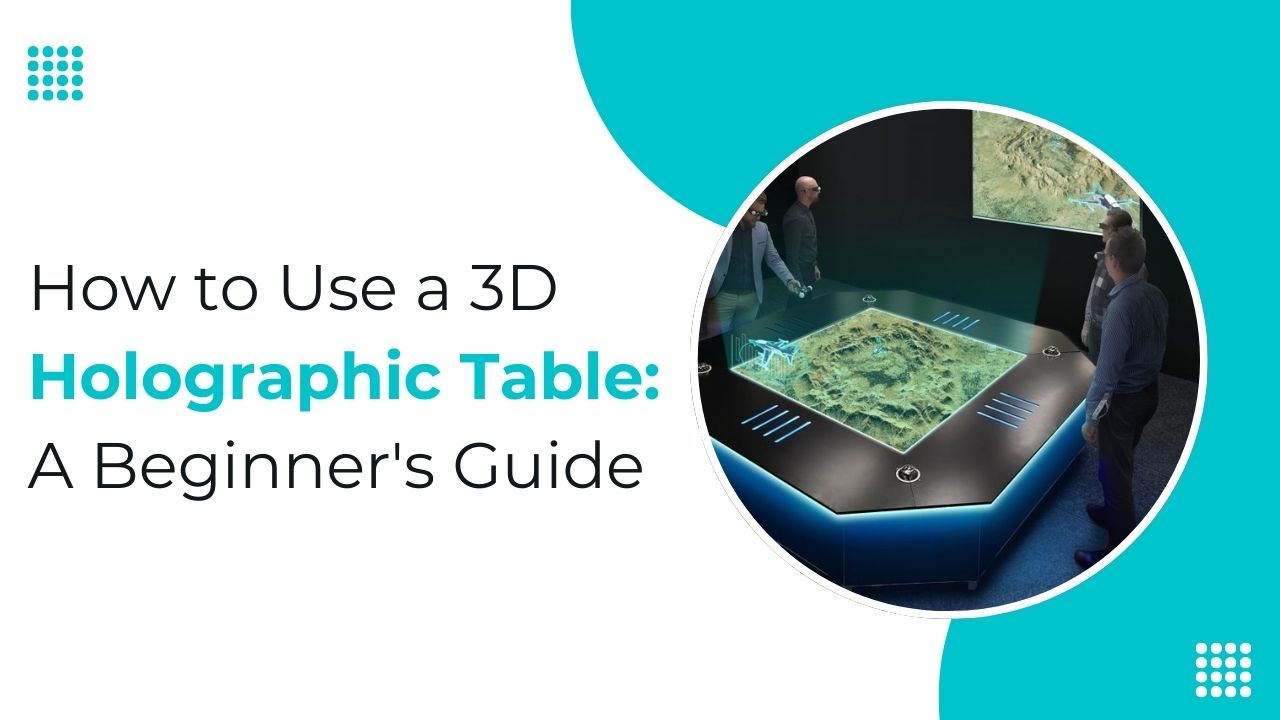
3D holographic tables have evolved as a captivating part of techniques that diminish the lines between virtuality and reality in recent years. These tables provide engaging insights by launching 3-dimensional holographic pictures that can be engaged in real moments. If you’re fresh to the 3D hologram table globe, don’t worry! Explore and select the most appropriate holographic displays with one of the leading holographic display providers i.e. Vision3D. In this guide, we will take you through everything you require to understand to begin utilizing one impressively.


- Immersive Data Visualization
- Interactive Educational Tool
- Collaborative Planning and Design
7 Methods to Utilize 3D Tables
Some methods are detailed below for you to use the 3D hologram table.
Understanding the Basics
Before moving into utilizing a 3D holographic table, it’s significant to know how it functions. These tables use a blend of software and hardware to establish holographic pictures on a wide surface. This creates the illusion of a 3-dimensional object sailing in space. The hardware usually involves a processing unit, display unit and sensors though the software allows the development and modification of holographic content.
Setting Up Your 3D Holographic Table
Organizing 3D tables is typically simple and includes the following points.
- Assembly – Begin by collecting the features of your holographic table as per the manufacturer’s guidelines. This may include connecting the display unit to the base and attaching essential cables.
- Calibration – Once associated, measure the table to assure ultimate presentation. This may include adjusting settings like contrast, sensor sensitivity and contrast.
Software Installation – Establish the needed software on the processing unit of the hologram table. This software will allow you to make and show holographic content.
Navigating the Interface
Once you engage with the interface, you can begin detecting holographic content. A few common types of content you may face are detailed below.
- 3D Models – A 3D hologram table can exhibit 3D models of buildings, objects, or structures enabling you to watch them from multiple perspectives and angles.
- Videos and Animations – You can also stream animations or videos on a holographic table developing engaging visual insights.
- Interactive Applications – Multiple holographic tables assist engaging applications like games, educational simulations and design tools.
Exploring Holographic Content
Engaging with holographic content is where the real magic occurs. A few methods you can engage with holographic objects are given below.
- Gestures – Utilize hand gestures to modify and handle holographic objects. For example, you might press zoom in or zoom out, swipe to revolve an object or click to choose.
- Touchscreen Controls – If your holographic table has a touchscreen show, you can engage with objects directly by pressing, tapping or dragging.
Voice Commands – A few modern 3D tables assist voice commands enabling you to handle the interface and engage with content by utilizing spoken guidelines.
Interacting with Holographic Content
One of the most interesting factors of having a 3D holographic table is the capacity to develop your holographic content. A few details regarding how you can begin are detailed below.
- 3D Modeling Software – Utilize 3D modelling software to develop and fetch out 3D models products, scenes or components.
- Holographic Content Creation Tools – A few software plans are especially featured for developing holographic content providing components like holographic impacts and depth mapping.
Importing Content – If you’re not a modelling specialist, you can often fetch establishing content from online marketplaces or libraries.
Creating Your Holographic Content
One of the most exciting aspects of owning a 3D holographic table is the ability to create your holographic content. Here’s how you can get started.
- 3D Modeling Software – Use 3D modelling software to create or import 3D models of objects, characters, or scenes.
- Holographic Content Creation Tools – Some software packages are specifically designed for creating holographic content, offering features such as depth mapping and holographic effects.
- Importing Content – If you’re not a 3D modelling expert, you can often import existing content from online libraries or marketplaces.
Experimenting and Having Fun
Finally, don’t fear to research and have joy with your 3D hologram table. Go through various types of content, browse engaging applications and watch what captivating opportunities expand. Whether you’re utilizing it for education, entertainment, or professional objectives, a holographic table is confirmed to offer hours of motivation and entertainment.
Conclusion
Utilizing a 3D hologram table can be an exciting and engaging insight, whether you’re an experienced tech lover or a curious starter. By knowing the basics of how these tables function, engaging yourself with the interface, and researching with holographic content, you will perfect your way to uncover the overall capacity of this top-notch technique. So move in, find and allow your expectations to run wild in the holographic wonders arena! To know more about holographic displays, connect with the Vision3D customer service number – (+91)-8971953451.
